First download the correct agent for your distro. In the below examples, this is done from the server using the wget command. You will need to copy the link address from the downloads page to get the URL.
$ wget http://url2download.com
If wget is not available to you, either install it or use curl if possible. For example:
$ curl -O http://url2download.com
Ubuntu
To see what version of Ubuntu you are running:
root@ubuntu:~# lsb_release -a
No LSB modules are available.
Distributor ID:	Ubuntu
Description:	Ubuntu 16.04.6 LTS
Release:	16.04
Codename:	xenial
Ubuntu 16.04 LTS (Xenial Xerus)
Download:
andy@ubuntu16:~$ wget https://downloads.opsview.com/opsview-agents/ubuntu16/opsview-agent_6.3.1.201911130833-1xenial1_amd64.deb
Install with:
andy@ubuntu16:~$ sudo apt install ./opsview-agent_6.3.1.201911130833-1xenial1_amd64.deb
Ubuntu 18.04 LTS (Bionic Beaver)
Download:
andy@ubuntu18lts:~$ wget https://s3.amazonaws.com/opsview-agents/ubuntu18/opsview-agent_6.2.0.201905141521-1bionic1_amd64.deb
Install:
andy@ubuntu18lts:~$ sudo apt install ./opsview-agent_6.2.0.201905141521-1bionic1_amd64.deb
Ubuntu 20.04 LTS (Focal)
Download the focal package for Ubuntu 20.04:
andy@ubuntu20lts:~$ wget https://opsview-agents.s3.amazonaws.com/ubuntu20/opsview-agent_6.3.1.201911130833-1focal1_amd64.deb
And then install with:
andy@ubuntu20lts:~$ sudo apt install ./opsview-agent_6.3.1.201911130833-1focal1_amd64.deb
CentOS / RHEL
To check which CentOS version you are currently running:
[root@centos7 ~]# cat /etc/centos-release
CentOS Linux release 7.8.2003 (Core)
CentOS 7
Here we download as the root user. If you don’t have wget installed, you can probably use curl:
[root@centos7~]# curl -O https://s3.amazonaws.com/opsview-agents/rhel7/opsview-agent-6.0.0.201811091647-1.ct7.x86_64.rpm
Still as root, install with:
[root@centos7 ~]# yum localinstall opsview-agent-6.0.0.201811091647-1.ct7.x86_64.rpm
Windows Server
The process for installing the Opsview agent on all Windows machines is essentially the same: navigate to the download page, download the 64-bit agent for Windows, and run the installer.

Windows actually ships with curl.exe now so you could download with a PowerShell:
PS C:\Users\apadmin> cd .\Desktop\
PS C:\Users\apadmin\Desktop> curl.exe -s --output Opsview_Windows_Agent_x64_15-04-20-2252.msi https://opsview-agents.s3.amazonaws.com/Windows/Opsview_Windows_Agent_x64_15-04-20-2252.msi
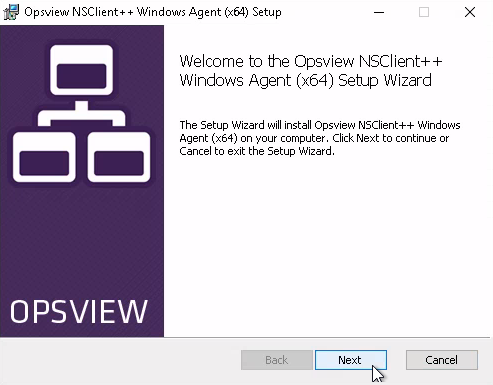
Run the installer:
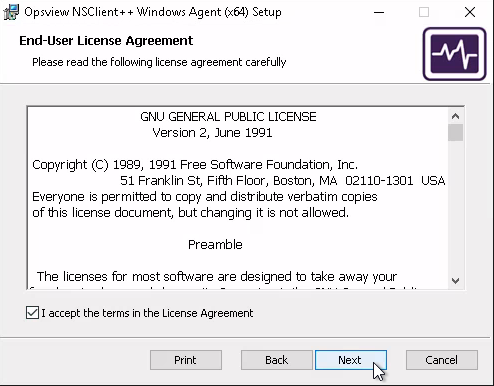
Accept the license agreement:
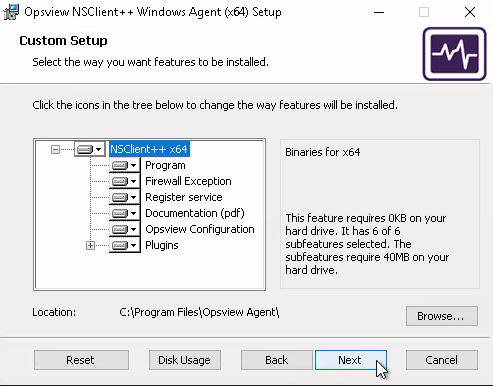
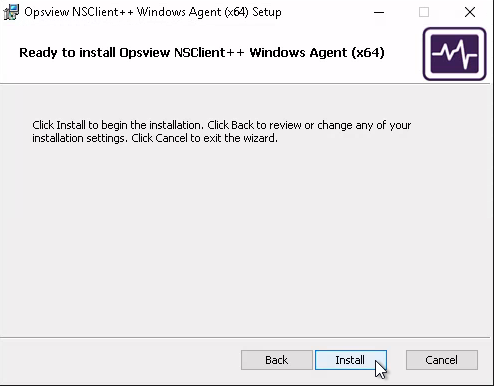
Accept the default setup:
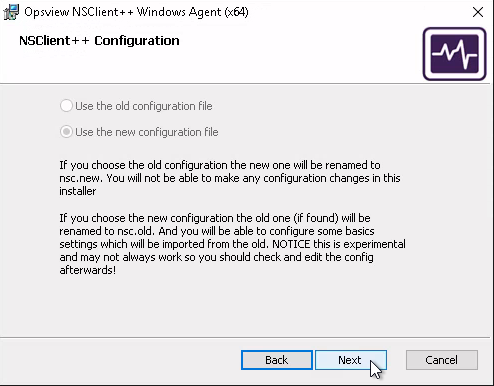
As this is a new installation, we will use a new configuration file:
Enter in some comma separated allowed hosts IP address ranges:
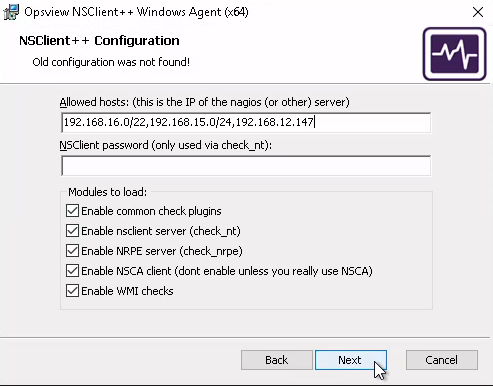
Next to confirm:
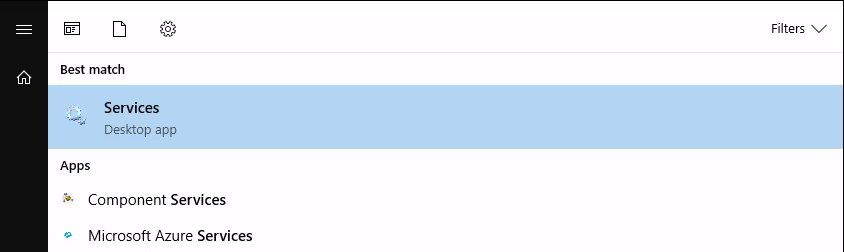
Press the Windows button and type “services“:
Scroll down to the Opsview NSClient++ Windows Agent (x64) service, right-click, and start if not already started:
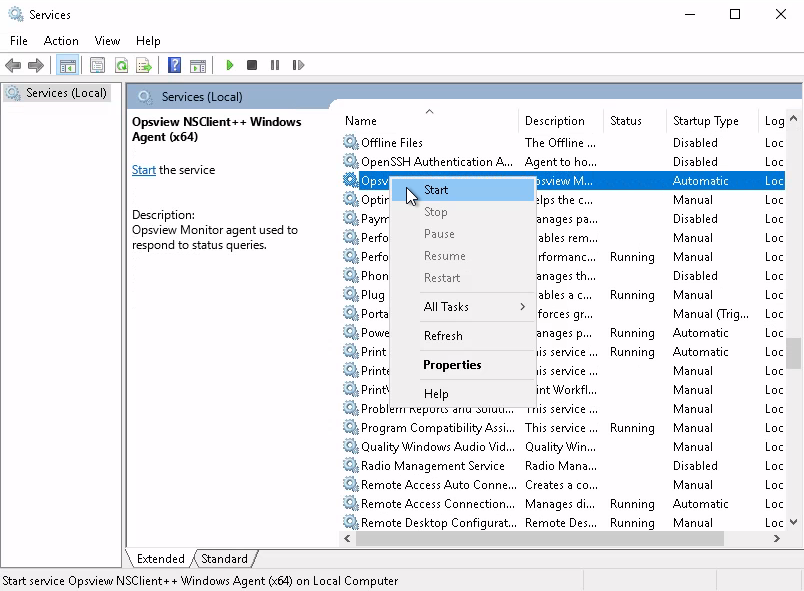
And that should be it!
Be the first to comment