Rackspace cloud load-balancers allow you to easily distribute the traffic across multiple nodes.
Every time you create a new cloud server, it is assigned a new public IP address. If you were to image that server, delete it and then re-create it, it will be given a new IP address. For this reason, I would recommend a load-balancer from the off. Especially if you know the site is going to be about for a while. That way, the IP address will not change, even if the IP address of the nodes behind it do….And yes, you only need one node behind the load-balancer for it to work.
Create a Load Balancer
Navigate to the Load Balancer section of your mycloud.rackspace.co.uk customer portal. Once there, click on “Create Load Balancer“.

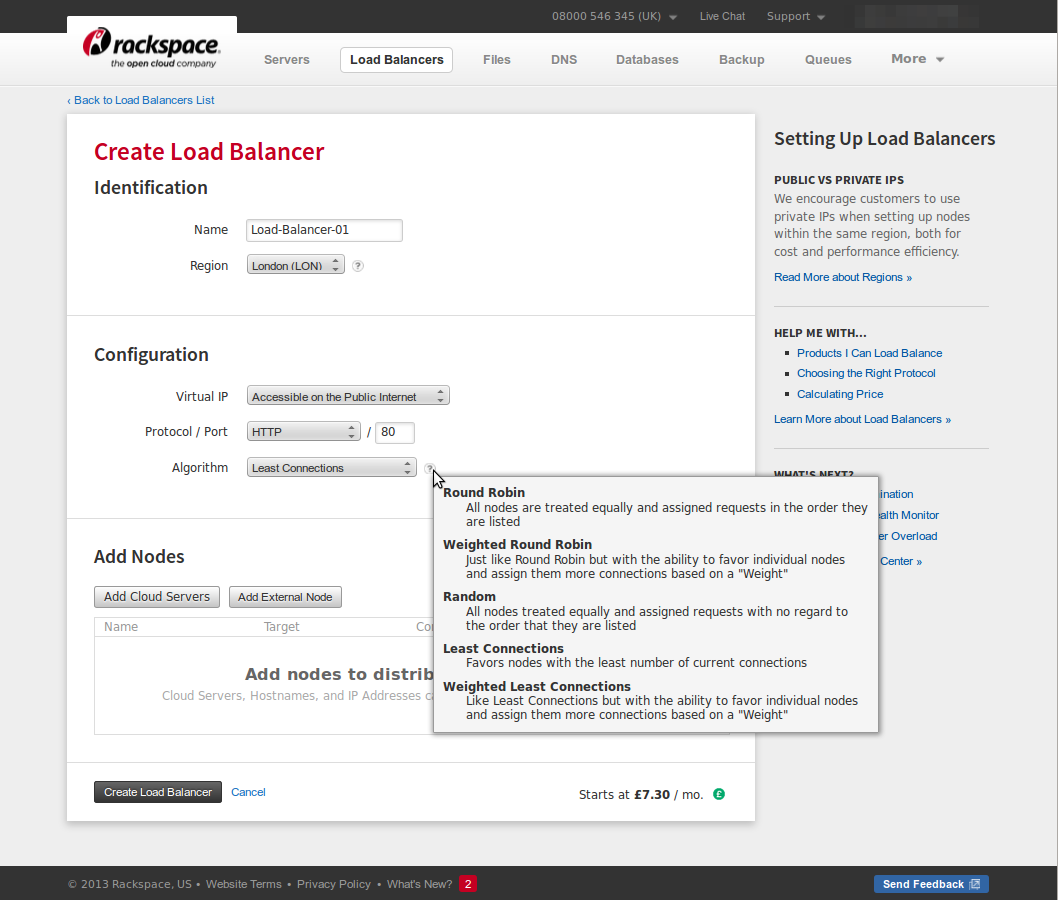
Fill in the details. Most of which is fairly self explanatory. My load balancer is for a website so I want it to be publicly accessible on port 80.
I chose the “least connections” algorithm. If you are unsure which one to choose, hover your mouse over the question mark icon for a description of each.
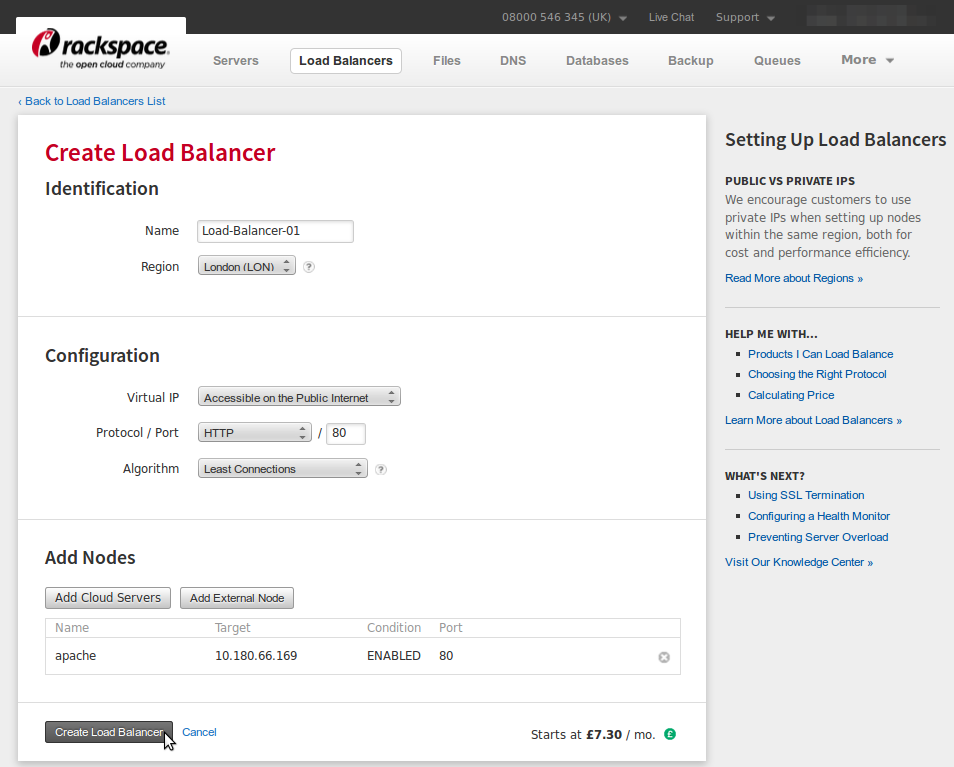
Now click on “Add Cloud Servers” and select the nodes you want behind the load balancer. Here I only chose one server.

Now confirm the load balancer details and click on “Create Load Balancer“.
Test the Load Balancer
To test it works, simply enter the public IP address of the load balancer in a web browser. You should see your website.
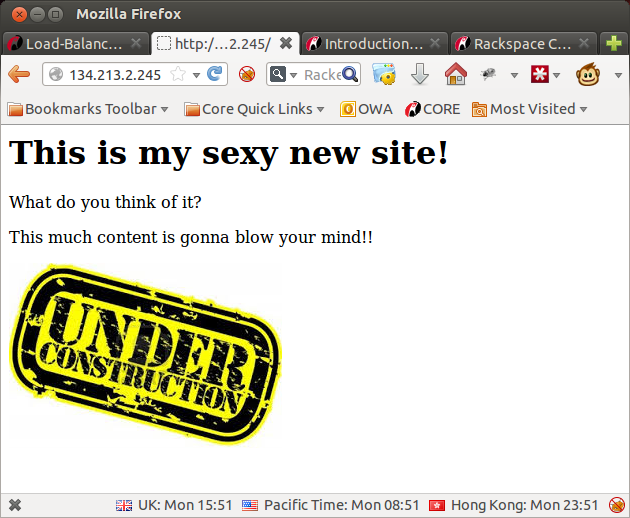
Job done!
Be the first to comment