Log into the Rackspace cloud control panel and click on on the DNS tab at the top of the screen.
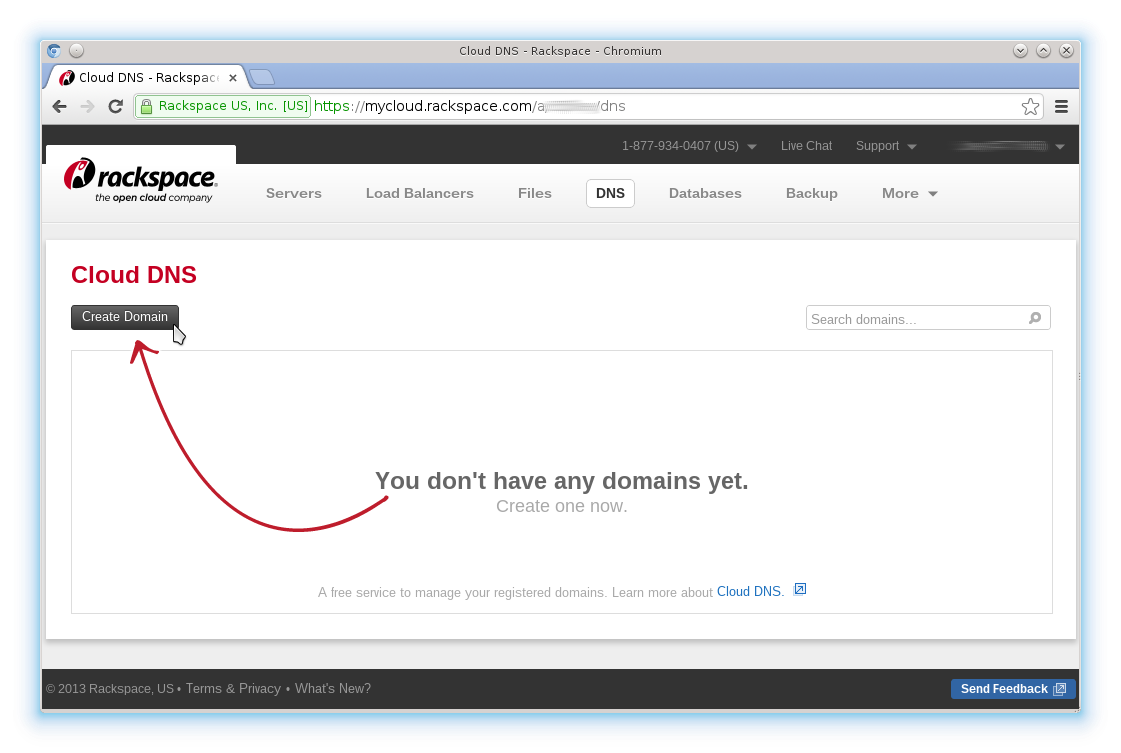
Then click on Create Domain, fill out the details, and click Create Domain again to complete.

And that’s it! You have created a zone file for your domain.
Now we need to add a DNS record. You can do this by clicking Actions --> Add DNS Record... or simply click Add Record.
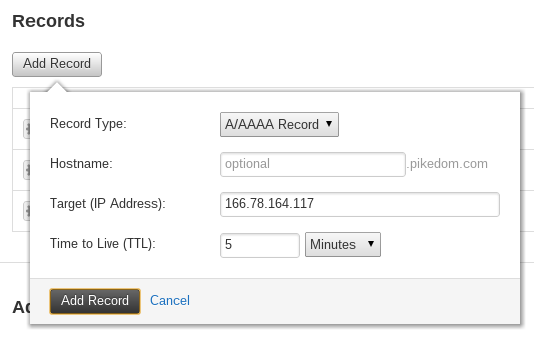
Here we create an A Record. Now all requests for pikedom.com will resolve to the IP address of my web server. I also create an CNAME Record so that www.pikedom.com points to pikedom.com.
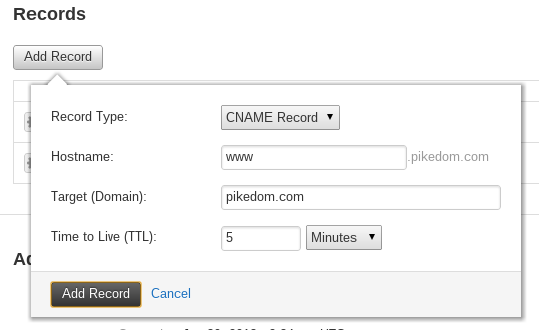
Now our simple zone file is complete and people should be able to easily find your site.
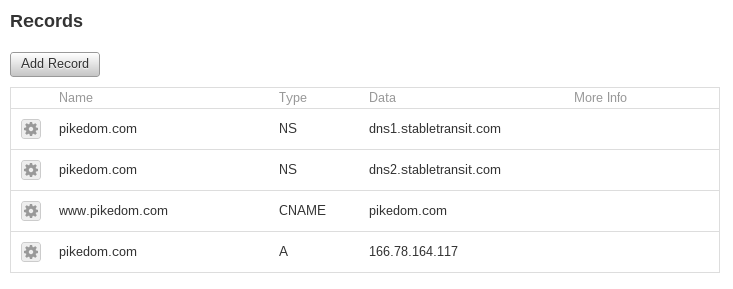
Now all we need to do is change the name servers that are responsible for managing your DNS. That means logging into the control panel of your domain name registrar (the people you leave your domain name from) and change the name servers for your domain to the below. For example, if you lease your domain name through GoDaddy.com, then you need to log into their control panel and repoint your name servers.
– dns1.stabletransit.com
– dns2.stabletransit.com
Once you have repointed your name servers, the changes can take some time to propagate around the world. You can get an idea of the current state by navigating to www.whatsmydns.net and searching for an A Record for your domain.
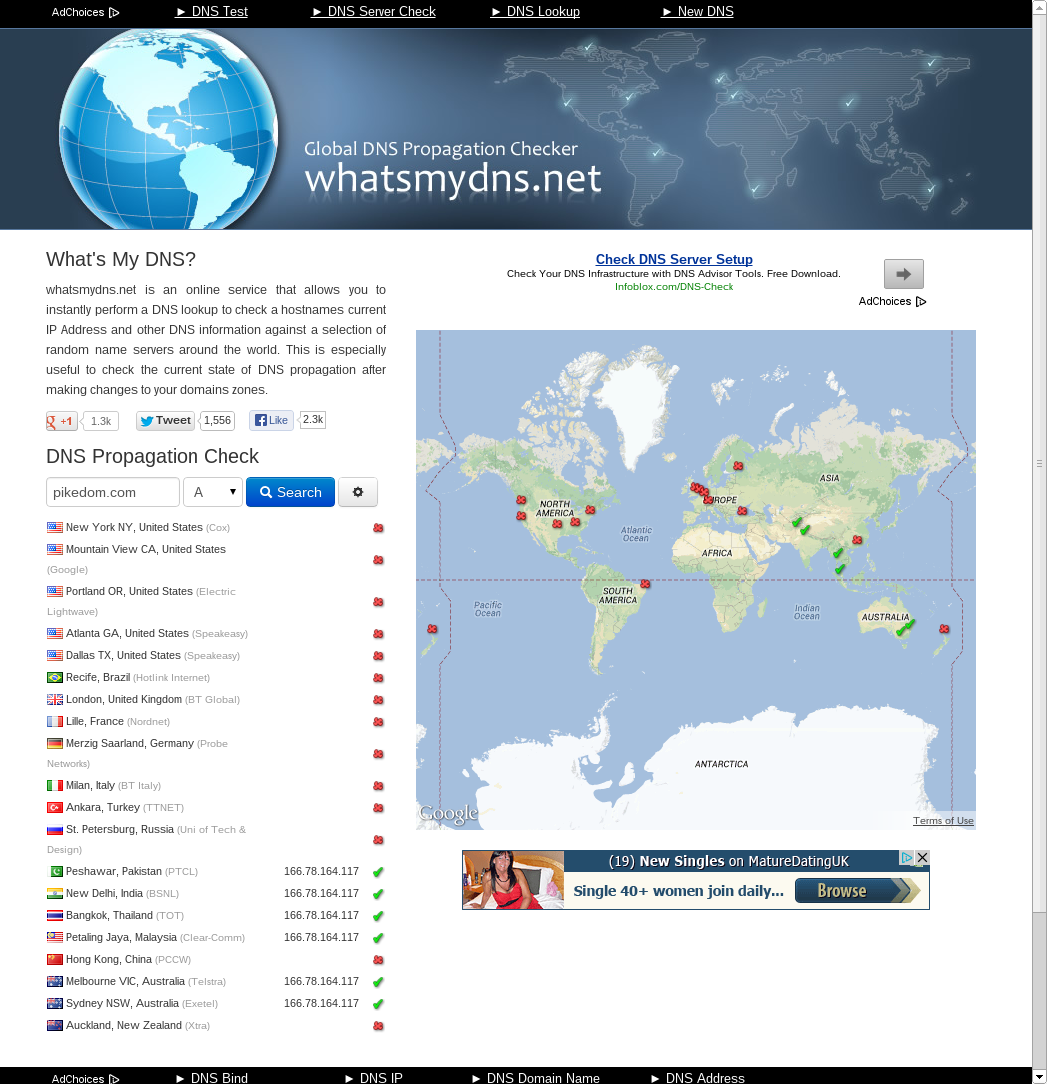
Here you can see the changes have currently only been picked up in some parts of South East Asia.
Be the first to comment