To install Oracle Java 11, add the PPA to your package manager:
andy@ubuntu18:~$ sudo add-apt-repository ppa:linuxuprising/java
Press enter to acknowledge the the notification and continue. Install Java JDK 11 with the following command:
andy@ubuntu18:~$ sudo apt-get install oracle-java11-installer-local
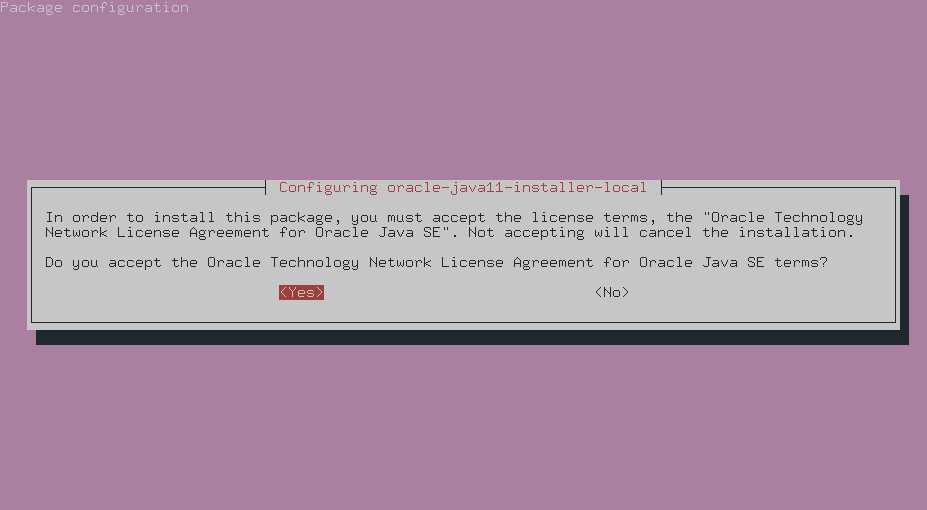
At this point you will need to accept the licence agreement to proceed:
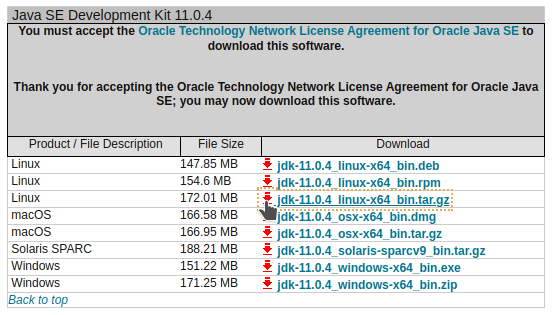
Navigate to the Oracle Java archive page and download the correct Java version. Here I need to download jdk-11.0.4.
Once downloaded, you will need to copy the installation file to the server you want to install Java on. For me this was:
[andy@homepc ~]$ scp -v -P1022 Downloads/jdk-11.0.6_linux-x64_bin.tar.gz [email protected]:/home/andy
Inflate with:
andy@ubuntu18:~$ gunzip jdk-11.0.6_linux-x64_bin.tar.gz
Then copy it to /var/cache/oracle-jdk11-installer-local/:
andy@ubuntu18:~$ sudo cp -v jdk-11.0.6_linux-x64_bin.tar.gz /var/cache/oracle-jdk11-installer-local/
'jdk-11.0.6_linux-x64_bin.tar.gz' -> '/var/cache/oracle-jdk11-installer-local/jdk-11.0.6_linux-x64_bin.tar.gz'
Finally install with:
andy@ubuntu18:~$ sudo apt-get install oracle-java11-installer-local
If you have multiple Java versions installed, you can set Java 11 as the default version by installing oracle-java11-set-default-local:
andy@ubuntu18:~$ sudo apt-get install oracle-java11-set-default-local
Check that is now installed with:
andy@ubuntu18:~$ java -version
java version "11.0.6" 2020-01-14 LTS
Java(TM) SE Runtime Environment 18.9 (build 11.0.6+8-LTS)
Java HotSpot(TM) 64-Bit Server VM 18.9 (build 11.0.6+8-LTS, mixed mode)
You can also check by writing and compiling a quick HelloWorld example if you wish.
Be the first to comment