Update and reboot if this is a new setup.
yum update -y; reboot
Here I download the ISO I’ll create a test VM with.
# cd /kvm/iso
# wget http://mirror.freethought-internet.co.uk/centos/8.2.2004/isos/x86_64/CentOS-8.2.2004-x86_64-dvd1.iso
# wget http://mirror.freethought-internet.co.uk/centos/8.2.2004/isos/x86_64/CHECKSUM
# sha256sum --ignore-missing -c CHECKSUM
Create bridge interface. Backup the current interface configuration and create a new one called br0.
[root@ipa ~]# mkdir -v ~/backup
mkdir: created directory '/root/backup'
[root@ipa ~]# mv -v /etc/sysconfig/network-scripts/ifcfg-eno1 ~/backup/
renamed '/etc/sysconfig/network-scripts/ifcfg-eno1' -> '/root/backup/ifcfg-eno1'
[root@ipa ~]#
[root@ipa ~]# vim /etc/sysconfig/network-scripts/ifcfg-br0
Enter something like the following.
DEVICE=br0
TYPE=Bridge
ONBOOT=yes
BOOTPROTO=dhcp
DELAY=0
And then for the old interface.
[root@ipa ~]# vim /etc/sysconfig/network-scripts/ifcfg-eno1
Mine looks like this.
TYPE="Ethernet"
BOOTPROTO="none"
NAME="eno1"
HWADDR="18:66:da:12:4e:a4"
DEVICE="eno1"
ONBOOT="yes"
BRIDGE="br0"
Disable IPv6. To check which interfaces are IPv6 enabled:
[root@ipa ~]# ip a | grep inet6
    inet6 ::1/128 scope host
    inet6 fe80::1a66:daff:fe12:4ea4/64 scope link
Create a new file in the /etc/sysctl.d directory.
[root@ipa ~]# vim /etc/sysctl.d/ipv6.conf
Insert the following to disable IPv6 on the required interfaces. Here I disable it on all interfaces except local host, ::1/128.
net.ipv6.conf.br0.disable_ipv6 = 1
net.ipv6.conf.eno1.disable_ipv6 = 1
net.ipv6.conf.virbr0.disable_ipv6 = 1
net.ipv6.conf.virbr0-nic.disable_ipv6 = 1
If you just want to disable IPv6 on all interfaces:
net.ipv6.conf.all.disable_ipv6 = 1
Reload the file to bring the changes into effect.
[root@ipa ~]# sysctl --load /etc/sysctl.d/ipv6.conf
net.ipv6.conf.br0.disable_ipv6 = 1
net.ipv6.conf.eno1.disable_ipv6 = 1
net.ipv6.conf.virbr0.disable_ipv6 = 1
net.ipv6.conf.virbr0-nic.disable_ipv6 = 1
You might want to reboot at this stage if you’ve not done so already, just to make sure all comes back up as expected.
[root@ipa ~]# reboot
Connection to 192.168.222.240 closed by remote host.
Connection to 192.168.222.240 closed.
Once you’ve reconnected, lets install the software we need.
[root@ipa ~]# yum install libvirt virt-top libguestfs-tools virt-install virt-viewer libvirt-client virtio-win libguestfs
Start and enable the service.
[root@ipa ~]# systemctl enable --now libvirtd.service
Now lets give that a quick test and check we can create a VM. As this is a headless server, I use a VNC client on another machine on my network to connect to the VM and complete the installation. To follow along, you will need another machine with SSH and a VNC client. I used my Windows laptop just fine for this purpose.
I actually use Git Bash – part of Git for Windows, but you should be able to use any SSH client. Using whatever client, SSH into your KVM server with the below command.
$ ssh [email protected] -L 5900:127.0.0.1:5900
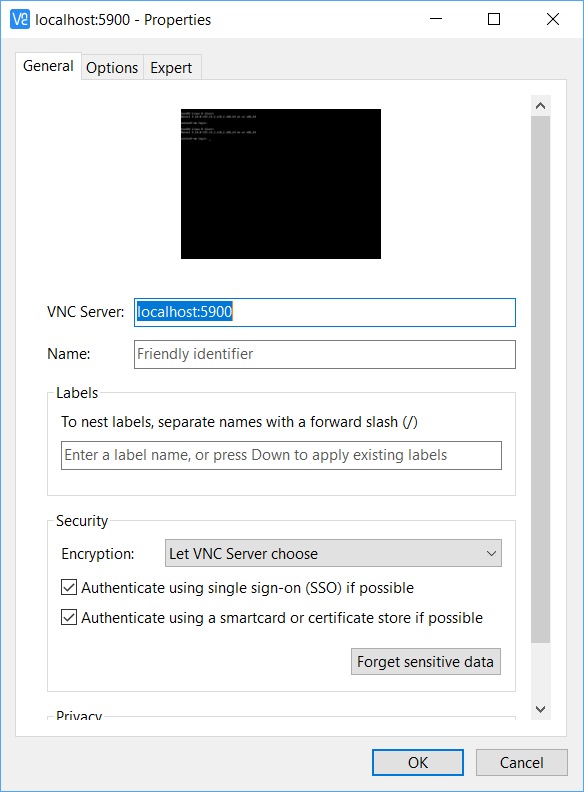
Like so:

Now back on the KVM server, copy and paste the below in the command prompt. Amend as required.
virt-install \
--virt-type=kvm \
--name centos8-vm \
--memory 2048 \
--vcpus=2 \
--os-variant=rhel8.1 \
--cdrom=/kvm/iso/CentOS-8.2.2004-x86_64-dvd1.iso \
--network=bridge=br0,model=virtio \
--graphics vnc \
--disk path=/kvm/images/centos8.qcow2,size=20,bus=virtio,format=qcow2
In another terminal, check the VNC port being used (probably 5900):
[root@ipa ~]# virsh dumpxml centos8-vm | grep vnc
    <graphics type='vnc' port='5900' autoport='yes' listen='127.0.0.1'>
Now back on the device with VNC and the SSH connection open on – open up your VNC client. Install one if necessary. I’m using RealVNC viewer. Then connect to localhost on TCP port 5900.
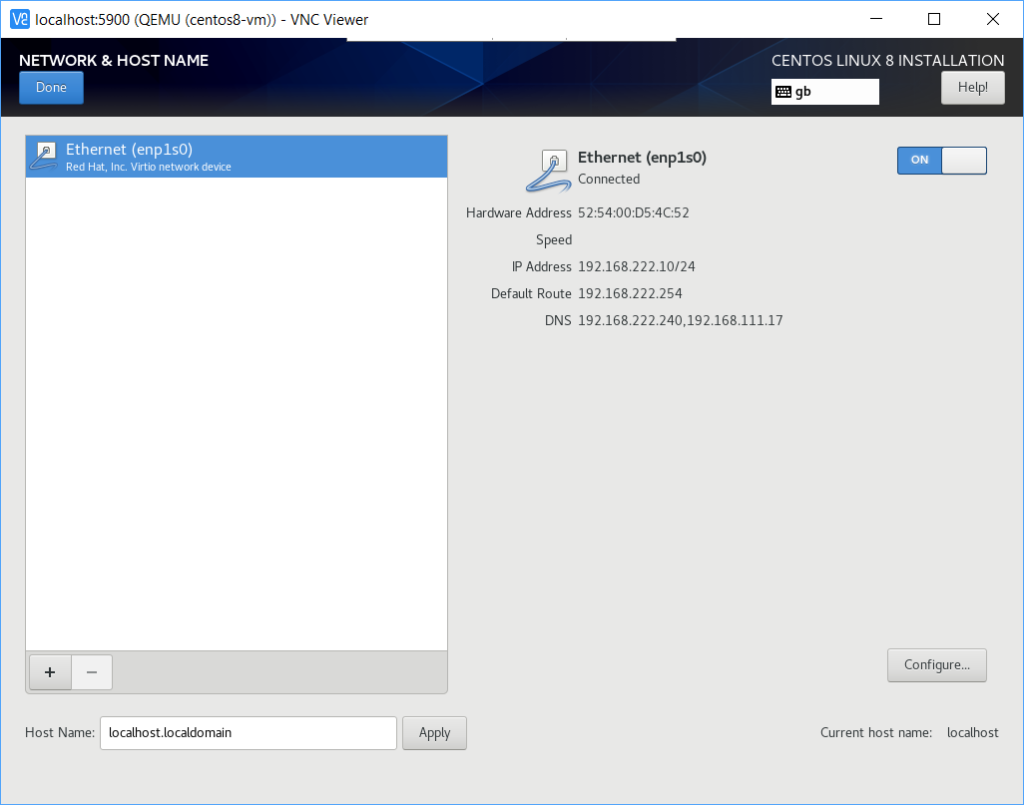
You should now be greeted with the installer screen.

I wont cover the full installation here but notice that because we create the bridge interface earlier, when you enable the network interface during the installation, you should see it get assigned a regular IP address from your router and treated like a regular machine.
Once the installation is complete, you should be able to SSH into the device.
[root@ipa ~]# ssh [email protected]
On the KVM server, you and use the virsh command to list all VMs currently on the host.
[root@ipa ~]# virsh list --all
 Id    Name                           State
----------------------------------------------------
 3     centos8-vm                     running
You can shutdown the device from the KVM host with:
[root@ipa ~]# virsh shutdown centos8-vm
Domain centos8-vm is being shutdown
Or if its stuck, you can force it. However this should be used as a last restort.
[root@ipa ~]# virsh destroy centos8-vm
If you actually want to delete it, use the undefine option.
[root@ipa ~]# virsh undefine centos8-vm
Or to start it back up again:
[root@ipa ~]# virsh start centos8-vm
Domain centos8-vm started
And that’s it really. This was just a quick one showing you how to setup KVM in headless mode. This device will actually be used to install FreeIPA on – hence the hostname value! It was also the main reason I disabled IPv6 – as it integrates with Active Directory better. Guides on that to follow shortly hopefully.

Be the first to comment