
Install XWiki and all dependant programs on a 4 GB cloud server. This means:
1) Java
2) Tomcat
3) MySQL/MariaDB
4) XWiki
5) Nginx
Here we use Nginx as a reverse proxy to firstly redirect all HTTP to HTTPS and then forward all requests on port 80/443 to port 8080 (tomcat) on the localhost. Here I use LetsEncrytp for my SSL certificates.
Contents
Before we begin…
Setup DNS
wiki.dummydomains.org.uk ——> 134.213.27.60
Prepare the Server
Update
Update and reboot the server.
apt-get update
apt-get dist-upgrade
reboot
Enable the firewall
ufw status
ufw enable
ufw allow ssh
ufw reload
ufw status
Install Oracle Java
This is a requirement before installing Tomcat or XWiki. At the time of writing, Java 8.x is recommended as 9.x is too new and has a number of known bugs still.
apt-get install software-properties-common
add-apt-repository ppa:webupd8team/java
apt-get update
apt-get install oracle-java8-installer
You will need to accept the license agreement:


Because many programs check for $JAVA_HOME, it is a good idea to set it now. If you don’t know the path, check with:
root@wiki:~# update-alternatives --config java
There is 1 choice for the alternative java (providing /usr/bin/java).

  Selection    Path                                     Priority   Status
------------------------------------------------------------
  0            /usr/lib/jvm/java-8-oracle/jre/bin/java   1081      auto mode
* 1            /usr/lib/jvm/java-8-oracle/jre/bin/java   1081      manual mode

Press <enter> to keep the current choice[*], or type selection number:
Then edit your system $PATH variable so that the /usr/lib/jvm/java-8-oracle is the first path.
nano /etc/environment
Mine looks like this:
root@wiki:~# cat /etc/environment
PATH="/usr/lib/jvm/java-8-oracle:/usr/local/sbin:/usr/local/bin:/usr/sbin:/usr/bin:/sbin:/bin:/usr/games:/usr/local/games"
You will need to log out and back in first but you can test with the below command.
root@wiki:~# echo $JAVA_HOME
/usr/lib/jvm/java-8-oracle
Create Virtual Host and Generate SSL
Install Nginx and LetsEncrypt.
Nginx
Install and configure Nginx.
apt-get install apache2-utils nginx
systemctl enable nginx
Create a very basic virtual host by editing the nginx configuration file and inserting your server name in the server_name variable.
vim /etc/nginx/sites-enabled/default
Mine looks like this.
root@wiki:~# egrep -v "^$|^[[:space:]]*#" /etc/nginx/sites-available/default
server {
	listen 80 default_server;
	listen [::]:80 default_server;
	root /var/www/html;
	index index.html index.htm index.nginx-debian.html;
	server_name wiki.dummydomains.org.uk;
	location / {
		try_files $uri $uri/ =404;
	}
}
Restart:
systemctl restart nginx
Check it works!
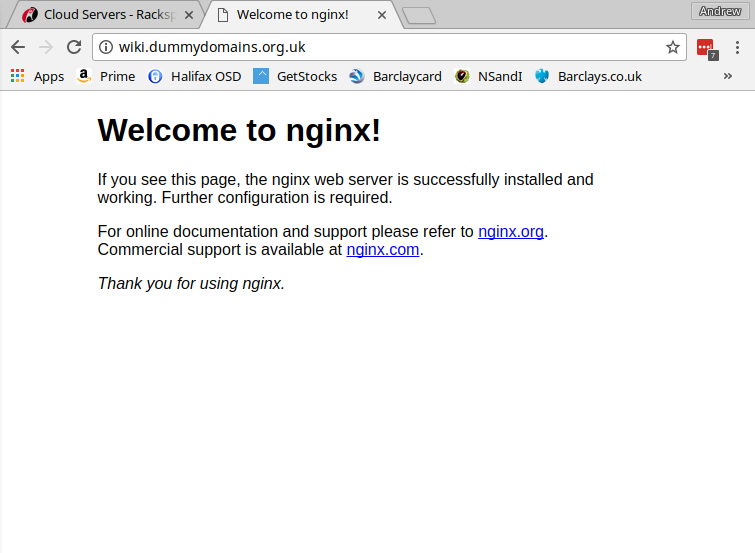
If it doesn’t, check the firewall…
Allow HTTP and HTTPS Traffic
If you use a local firewall like UFW or iptables, you will need to allow port 80 and 443.
ufw status
ufw allow http
ufw allow https
ufw status
ufw reload
LetsEncrypt
add-apt-repository ppa:certbot/certbot
apt-get update
apt-get install python-certbot-nginx
certbot --nginx -d wiki.dummydomains.org.uk -d dummydomains.org.uk
Your certificate will get saved to /etc/letsencrypt/live/wiki.dummydomains.org.uk.
LetsEncrypt will edit your virtual hosts file. The parts we are interested in are:
  listen 443 ssl; # managed by Certbot
  ssl_certificate /etc/letsencrypt/live/wiki.dummydomains.org.uk/fullchain.pem; # managed by Certbot
  ssl_certificate_key /etc/letsencrypt/live/wiki.dummydomains.org.uk/privkey.pem; # managed by Certbot
  include /etc/letsencrypt/options-ssl-nginx.conf; # managed by Certbot
  ssl_dhparam /etc/letsencrypt/ssl-dhparams.pem; # managed by Certbot

  if ($scheme != "https") {
    return 301 https://$host$request_uri;
  } # managed by Certbot
Install XWiki
Install XWiki.
wget -q "https://maven.xwiki.org/public.gpg" -O- | apt-key add -
wget "https://maven.xwiki.org/stable/xwiki-stable.list" -P /etc/apt/sources.list.d/
apt-get update
Search for XWiki packages to install.
apt-cache search xwiki
According to the official documentation, the enterprise version is out-of-date and the non-enterprise version should be used.
apt-get install xwiki-tomcat8-mysql
Set the root MySQL password:
2@&EG7dMhPF^44ed

When asked if you should configure the database with dbconfig-common, say yes.

MySQL application password:
zB9j@xht4@

Check tomcat8 is listening on port 8080:
root@wiki:~# netstat -plnt | grep :8080
tcp6       0      0 :::8080                 :::*                    LISTEN      15840/java
Check your memory usage:
root@wiki:~# free -h
              total        used        free      shared  buff/cache   available
Mem:           3.9G        487M        1.9G         10M        1.5G        3.3G
Swap:            0B          0B          0B
You will need to increase the default about of memory allocated to Java. Here’s how:
vim /etc/default/tomcat8
Before:
root@wiki:~# grep ^JAVA_OPTS /etc/default/tomcat8
JAVA_OPTS="-Djava.awt.headless=true -Xmx128m -XX:+UseConcMarkSweepGC"
After:
root@wiki:~# grep ^JAVA_OPTS /etc/default/tomcat8
JAVA_OPTS="-Djava.awt.headless=true -Xmx1024m -XX:+UseConcMarkSweepGC"
Restart Tomcat
systemctl restart tomcat8
Test using using a browser:
http://dummydomains.org.uk:8080/xwiki
If you’ve enabled a firewall and you want to test:
ufw allow 8080/tcp
ufw reload
However I’m not going to do this – I’m going to setup Nginx as a proxy first.
Configure Nginx
Remove the default virtual host configuration.
rm -v /etc/nginx/sites-enabled/default.conf
vim /etc/nginx/sites-available/wiki.dummydomains.org.uk.conf
My site configuration look as follows:
upstream tomcat {
  server 127.0.0.1:8080 fail_timeout=0;
  keepalive 64;
}

server {

  listen 134.213.27.60:80;
  listen [::]:80;

  listen 134.213.27.60:443 ssl;
  listen [::]:443 ssl;

  server_name wiki.dummydomains.org.uk dummydomains.org.uk;

  ssl_certificate /etc/letsencrypt/live/wiki.dummydomains.org.uk/fullchain.pem;
  ssl_certificate_key /etc/letsencrypt/live/wiki.dummydomains.org.uk/privkey.pem;
  include /etc/letsencrypt/options-ssl-nginx.conf;
  ssl_dhparam /etc/letsencrypt/ssl-dhparams.pem;

  # redirect http to https
  if ($scheme != "https") {
    return 301 https://$host$request_uri;
  }

  auth_basic "Authentication Required";
  auth_basic_user_file xwiki-access;

  location / {
    client_max_body_size 20M;
    proxy_set_header X-Forwarded-Host $host;
    proxy_set_header X-Forwarded-Server $host;
    proxy_set_header X-Forwarded-For $proxy_add_x_forwarded_for;
    proxy_pass_request_headers on;
    proxy_set_header Connection "keep-alive";
    proxy_store off;
    proxy_headers_hash_max_size 512;

    allow 81.143.223.118;
    allow 188.114.113.2;
    deny all;

    proxy_pass http://tomcat/;
  }
}
I also want to password protect my wiki:
htpasswd -c /etc/nginx/xwiki-access andy
Enable the site:
cd /etc/nginx/sites-enabled/
ln -s ../sites-available/xwiki.dummydomains.org.uk.conf .
….and check configuration file for errors.
root@wiki:~# nginx -t
nginx: the configuration file /etc/nginx/nginx.conf syntax is ok
nginx: configuration file /etc/nginx/nginx.conf test is successful
Check config and restart Nginx:
systemctl restart nginx
Now try entering the following into your browser and complete the on-screen installation instructions:
https://wiki.dummydomains.org.uk/xwiki
Complete Installation
Here are few things I normally do after an installation.
Make Root Application
I want to make this Wiki instance the root web application and remove the trailing /xwiki from the URL.
systemctl stop tomcat8.service
mv -v /etc/tomcat8/Catalina/localhost/xwiki.xml /etc/tomcat8/Catalina/localhost/ROOT.xml
vim /etc/xwiki/xwiki-tomcat8.xml
Change:
<Context path="/xwiki" docBase="/usr/lib/xwiki" privileged="true" crossContext="true">
  <!-- make symlinks work in Tomcat -->
  <Resources allowLinking="true" />
</Context>
To:
<Context path="/" docBase="/usr/lib/xwiki" privileged="true" crossContext="true">
  <!-- make symlinks work in Tomcat -->
  <Resources allowLinking="true" />
</Context>
Don’t forget to start Tomcat again:
systemctl start tomcat8.service
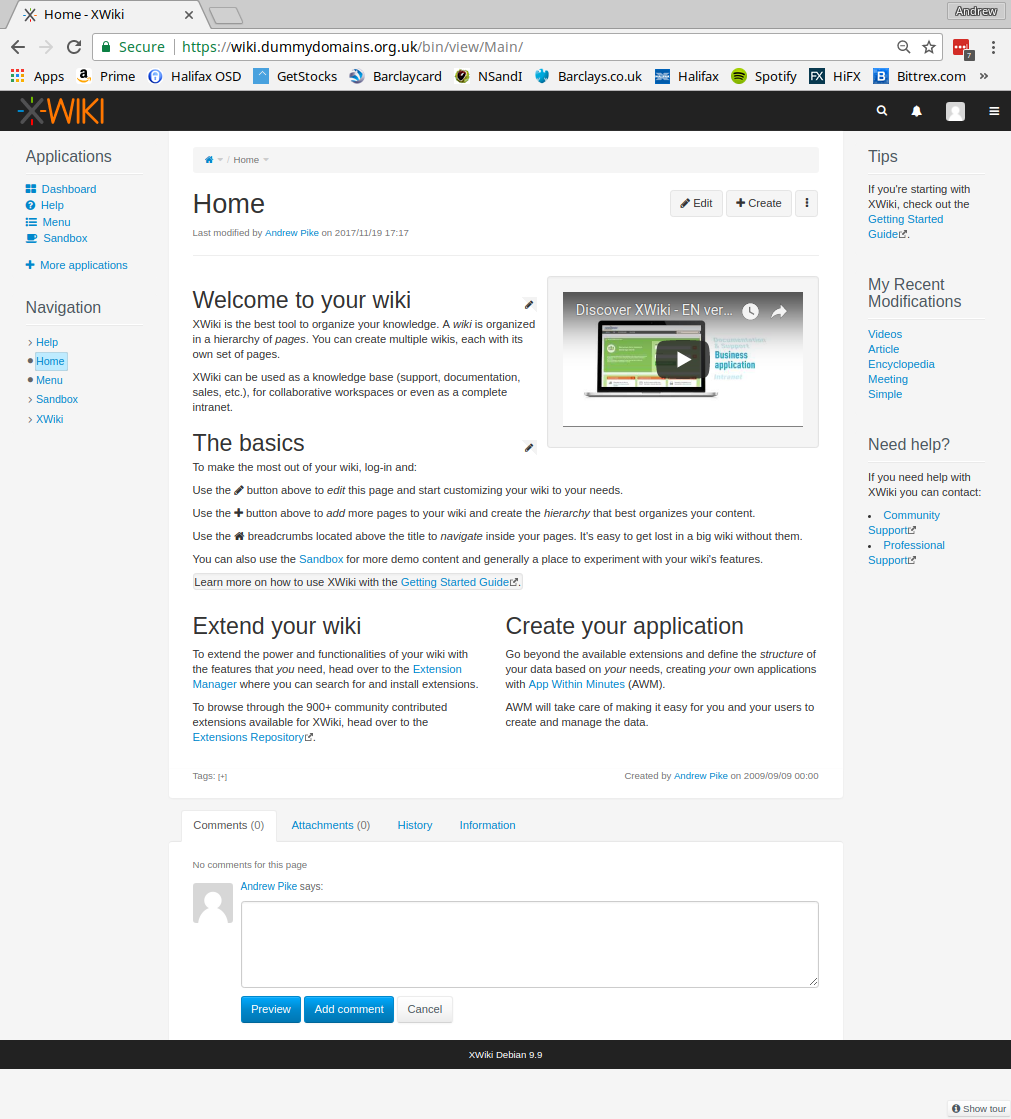
Now the URL is simply:
https://wiki.dummydomains.org.uk
Enable superadmin
This is needed if you plan to import XWiki pages from a previous installation.
vim /etc/xwiki/xwiki.cfg
Find the following section.
#-# Enable to allow superadmin. It is disabled by default as this could be a
#-# security breach if it were set and you forgot about it. Should only be enabled
#-# for recovering the Wiki when the rights are completely messed.
# xwiki.superadminpassword=system
….and change to:
#-# Enable to allow superadmin. It is disabled by default as this could be a
#-# security breach if it were set and you forgot about it. Should only be enabled
#-# for recovering the Wiki when the rights are completely messed.
xwiki.superadminpassword=siFwMXlUzKQ6
Don’t forget to restart Tomcat if necessary.
Update Cookie Encryption Keys
When a user logs in, three cookies are saved to their machine. These cookies are encrypted with the below details. First we need to get the two random strings of equal length.
root@wiki:~# date +%s | sha256sum | base64 | head -c 32 ; echo
MWJjNzE4ZTE2ODM0MTVlZDNjODVmNjJl
root@wiki:~# date +%s | sha256sum | base64 | head -c 32 ; echo
Y2M5M2M2ZGEyMGRkYzM3ZmJjZTYyNjYy
Then edit the xwiki.cfg file.
vim /etc/xwiki/xwiki.cfg
Find the relevant section and edit to look like the below.
xwiki.authentication.validationKey=MWJjNzE4ZTE2ODM0MTVlZDNjODVmNjJl
xwiki.authentication.encryptionKey=Y2M5M2M2ZGEyMGRkYzM3ZmJjZTYyNjYy
Don’t forget to restart Tomcat if necessary.
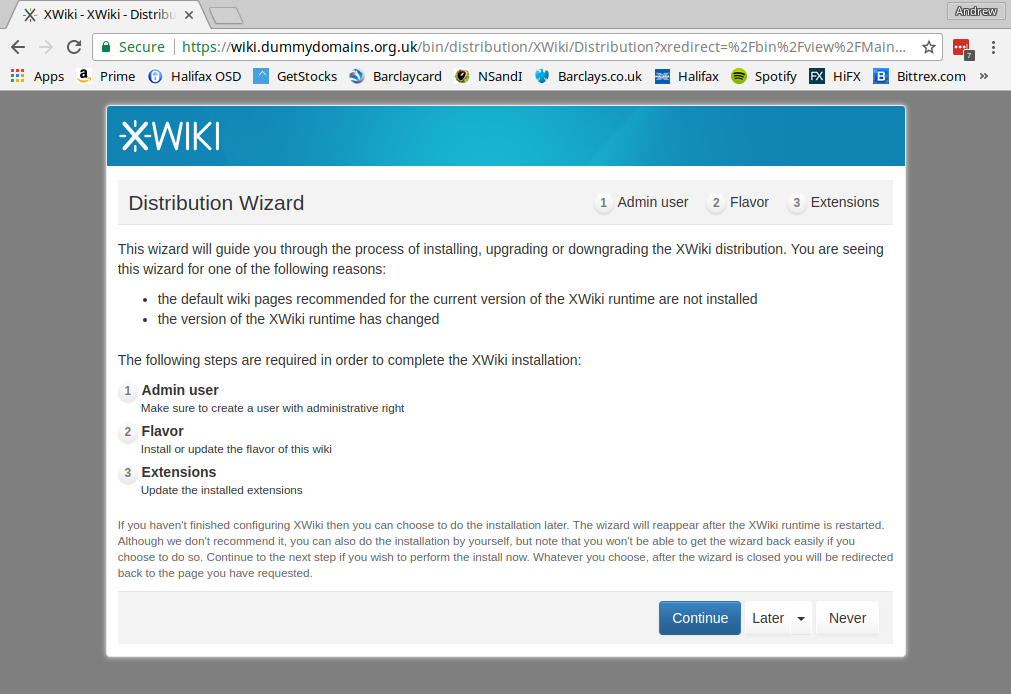
Complete the Installation
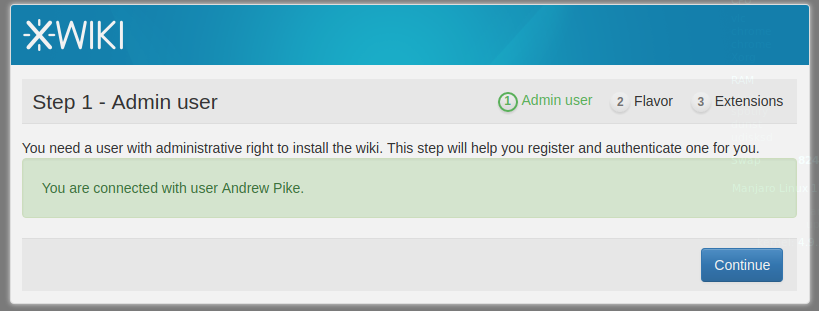
Login to complete the installation.
Click continue.
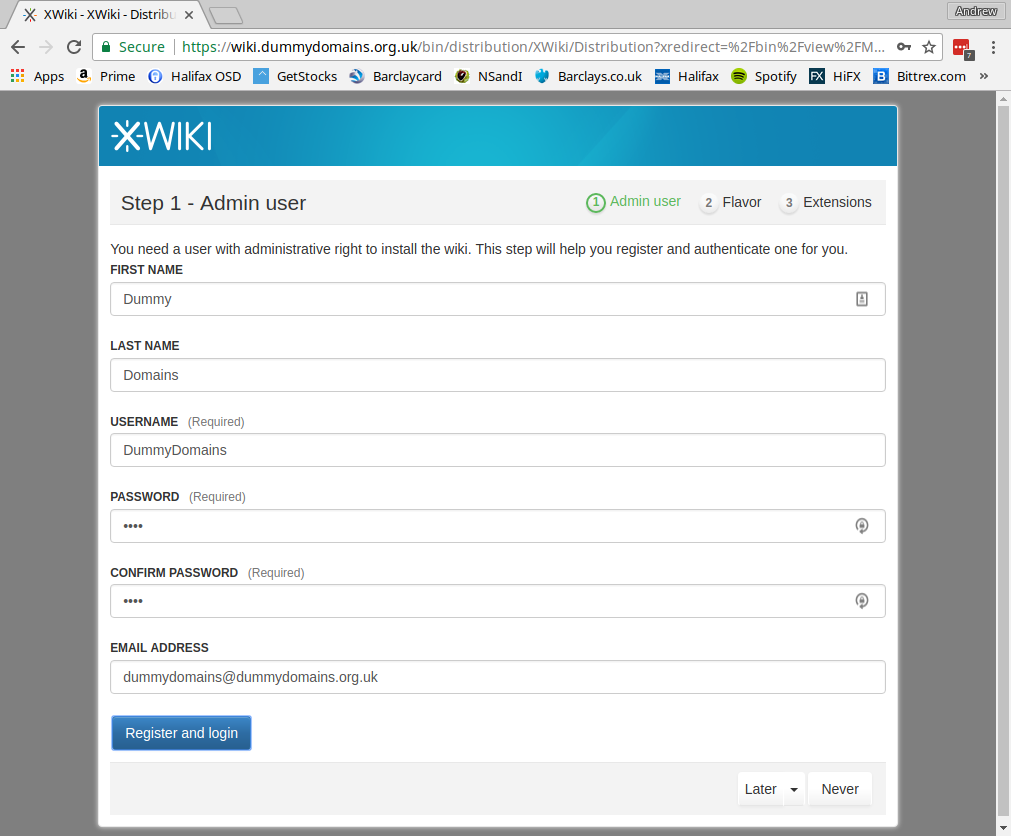
Register and log in.
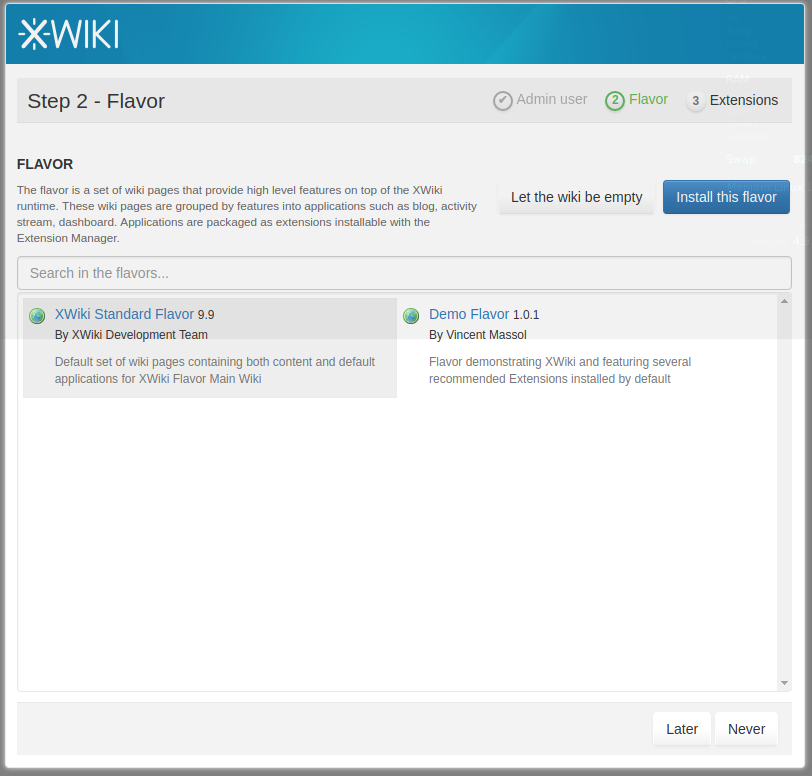
Continue.
Select 9.9 and continue.
Confirm installation again.
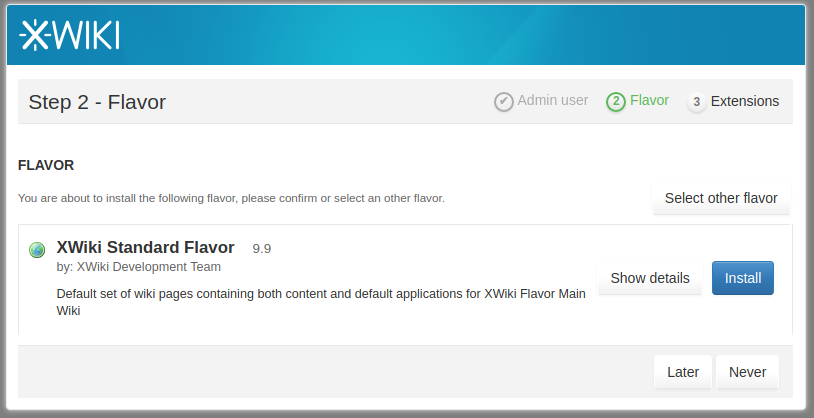
Continue.
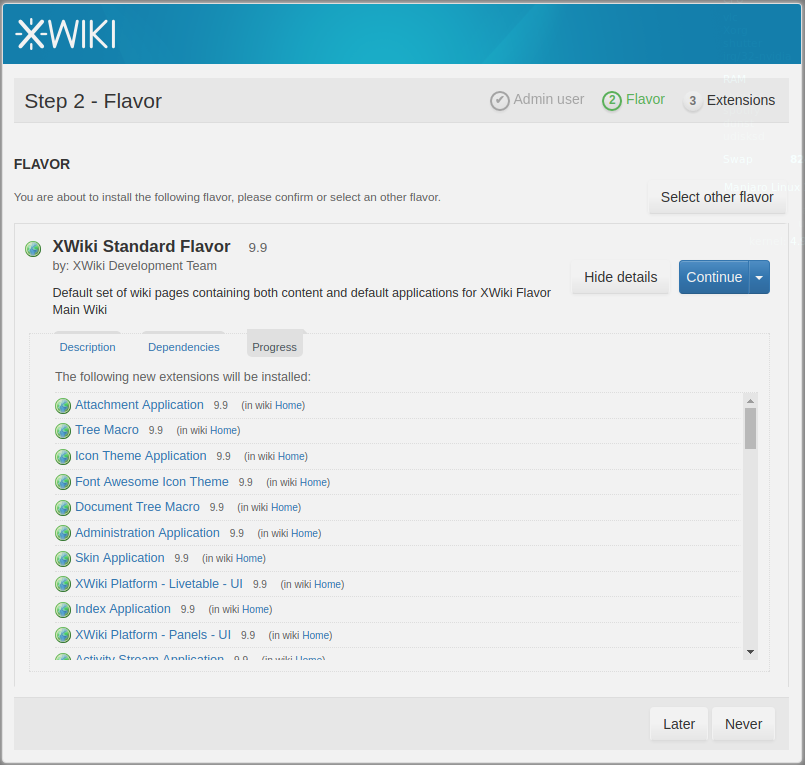
Continue again.

Confirm the report by clicking continue.
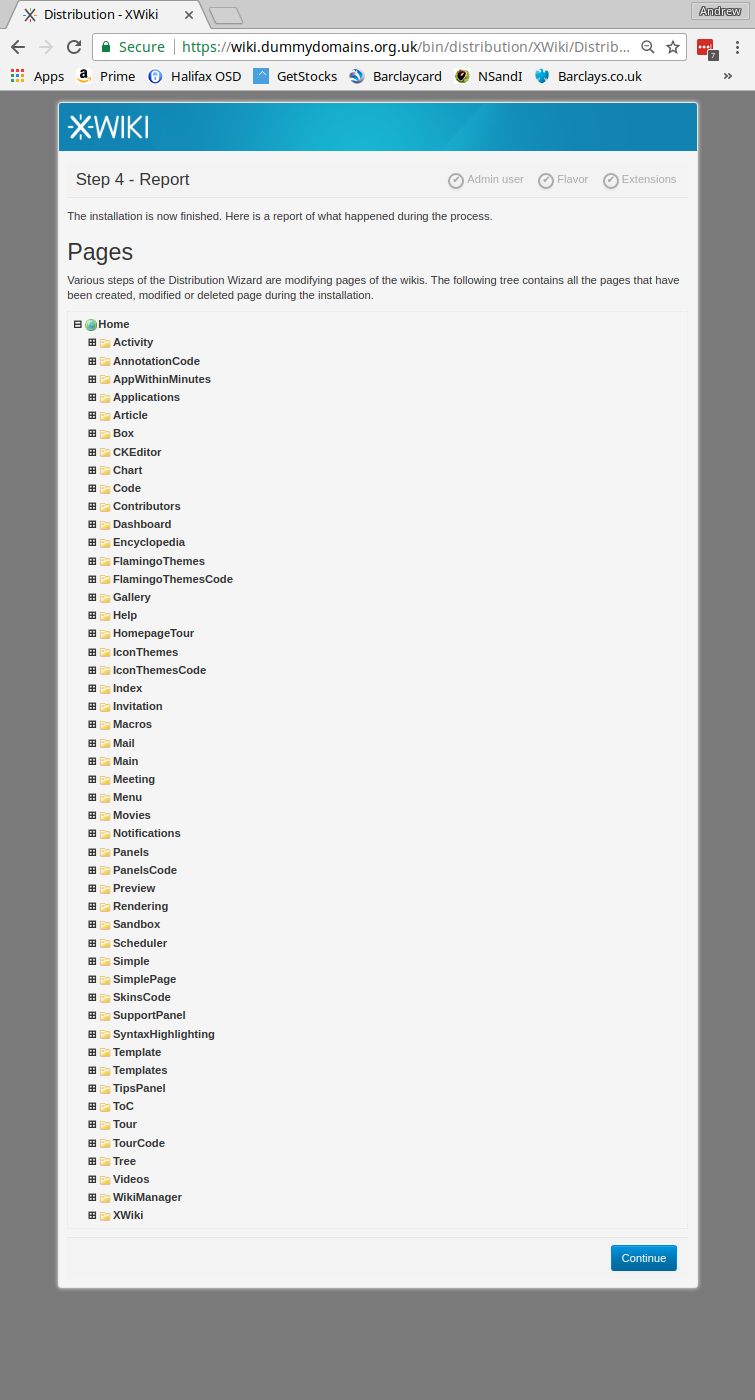
Installation complete!
Import old XWiki Content
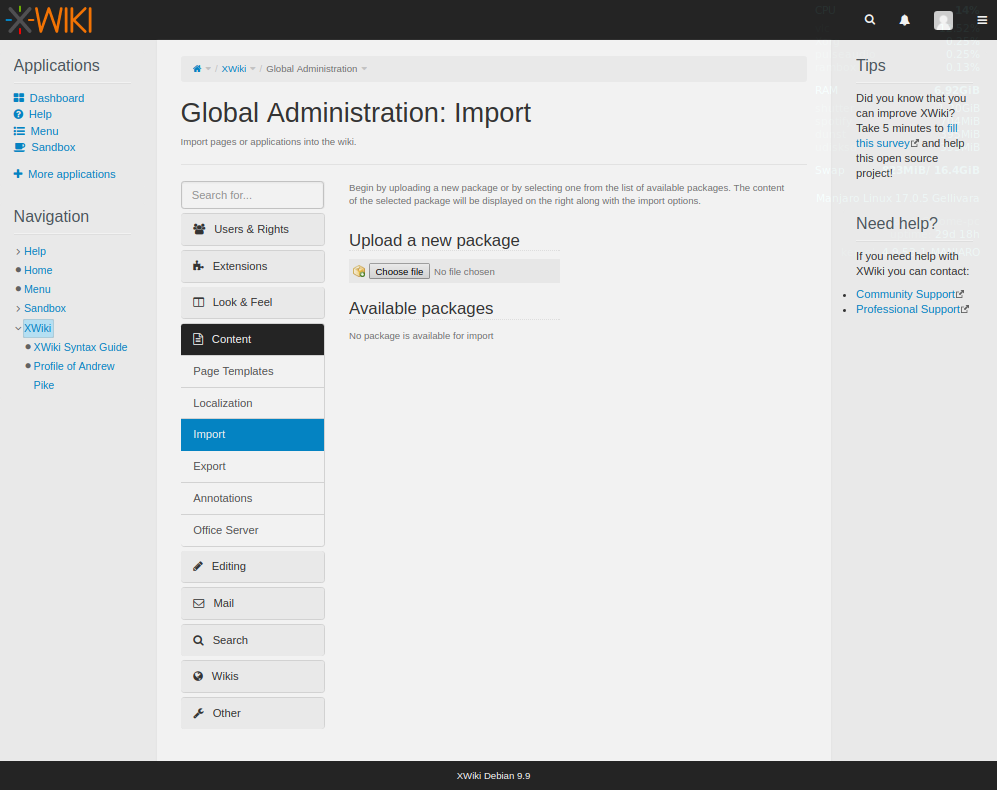
Lets see if the import feature works! Log in as the superadmin user and then navigate to the Administration section:
https://wiki.dummydomains.org.uk/bin/admin/XWiki/XWikiPreferences
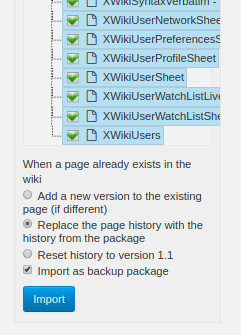
Then select Content, followed by Import:
Select the backup.xar that you (hopefully) took earlier and import all the content.
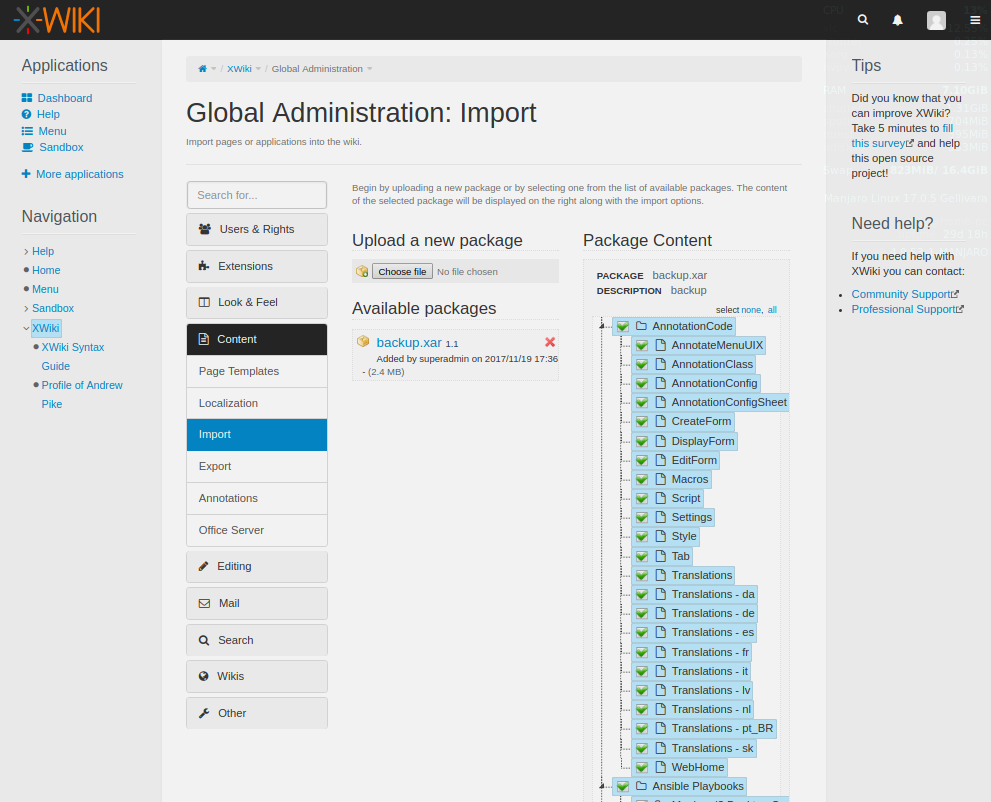
Select the following options.

Be the first to comment